¶ 3.5" & 2.5" SIDE DRIVE BAY
To open an upper panel, see https://faq.comino.com/en/grandorm/6
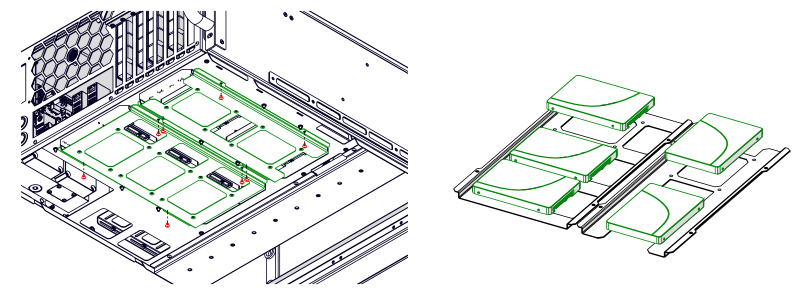
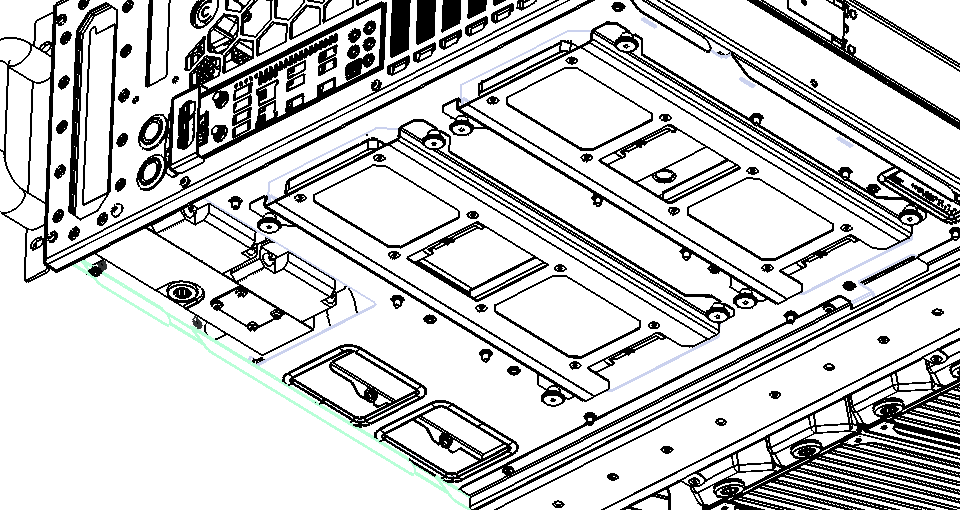
¶ SIDE DRIVE BAY LOCATION
The upper drive holder is mounted on the left panel of the machine with nuts p.3 and p.4 and washers p.5.
¶ 3.5" HDD INSTALLATION
Mount HDD p.1 to HDD brackets p.2 using 8 screws p.3. Apply thread-locking fluid Loctite 243 to the screw threads before installing them! Check fastener tightening torque.
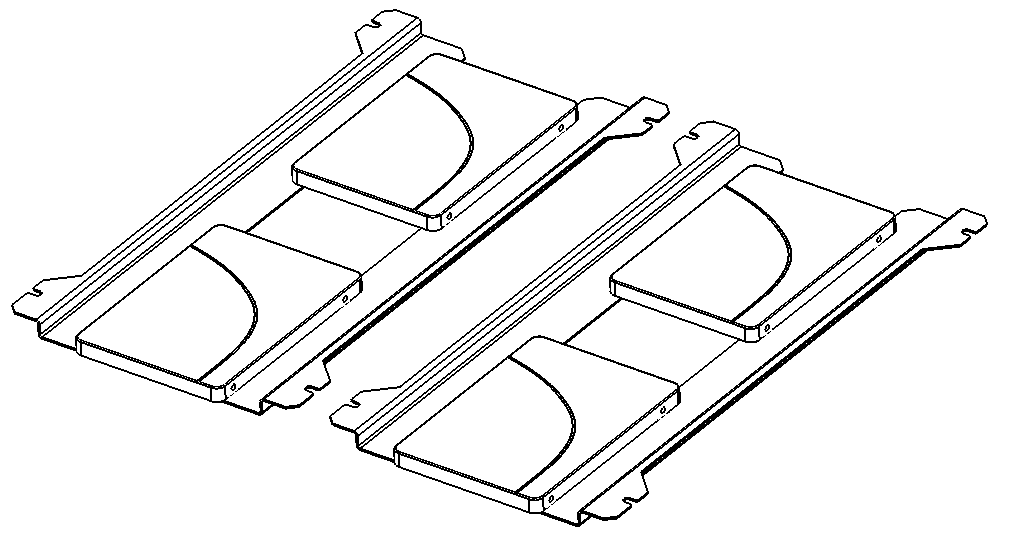
¶ 2.5" DRIVE INSTALLATION
Mount drives p.1 to sub-assembly p.2 using 8 screws p.3. Apply thread-locking fluid Loctite 243 to the screw threads before installing them! Check fastener tightening torque.
¶ 2.5" BOTTOM DRIVE BAY
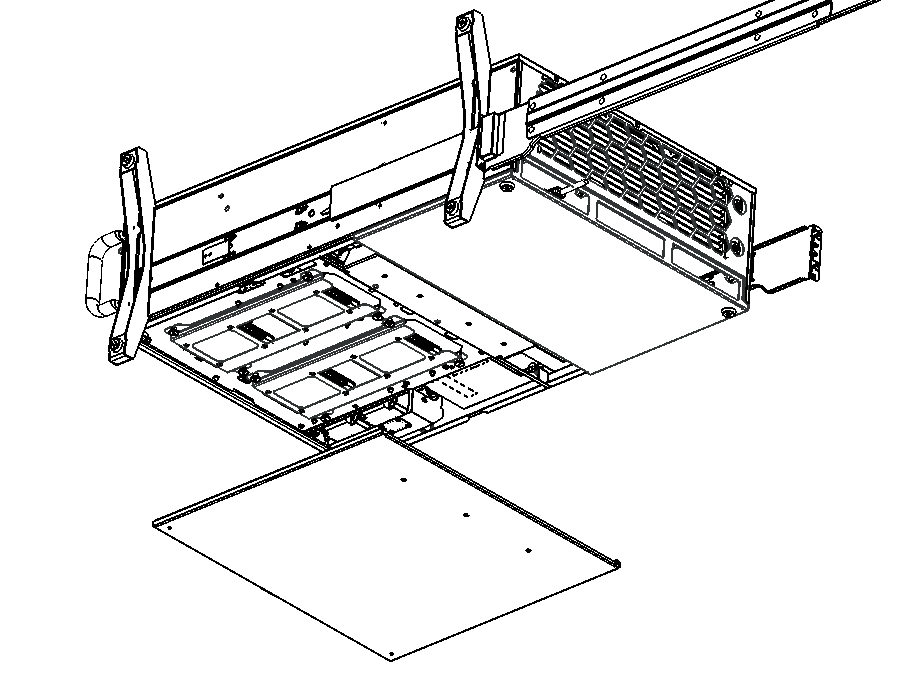
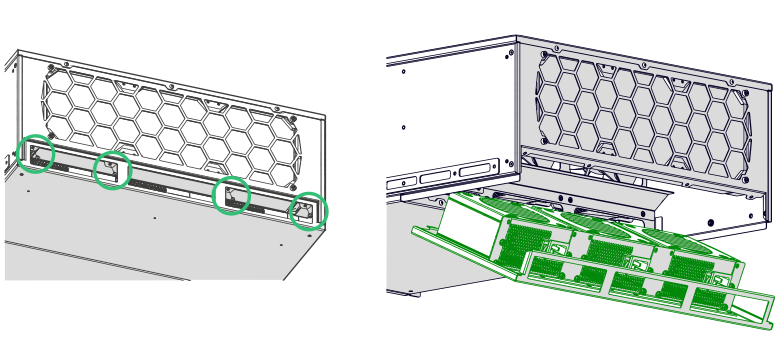
In the recess on the device back panel, unscrew 4 M3x4 ISO7380 screws fixing the panel with the PSU screwed to it (only for RM V2S). Gently fold back the PSU panel, it will be held on the power cables (only for RM V2S).
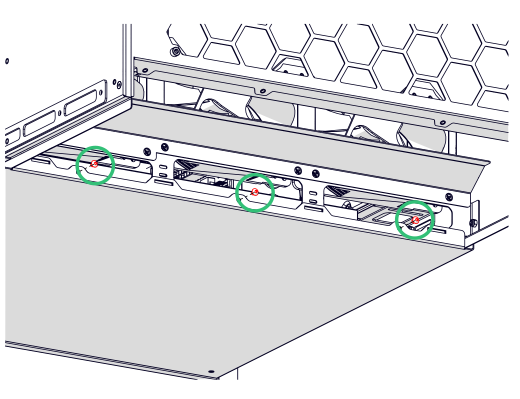
Unscrew 3 M3x4 ISO7380 screws securing the 2.5” drive bay panel (RM V2S only).
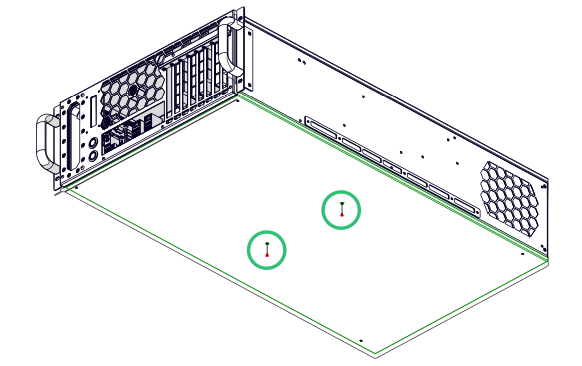
Unscrew 2 М3х4 DIN 7991 screws securing the bottom panel (RM V2L only).
Slide the 2.5” drive bay panel back so it can be removed completely.
The drives are located on 2 brackets, each of the brackets is attached to the chassis by 4 M3x4 ISO7380 screws, unscrew them to get the full access to the drives.
